
The Mission
The Picote UK Technical Team usually jump at the chance to learn new skills with our colleagues in Finland, but the global pandemic certainly reduced these opportunities. A chance to attend a Flexi Sliplining installation in Finland came up in August 2021. Technical Trainer Dan Holmes and Senior Technical Trainer Andy Kibblewhite eagerly volunteered. Having both had experience with pipe bursting and sliplining, and with mixed results, they were keen to see how this system could be different. Armed with negative PCR test results and bags of PPE, they flew out to Helsinki and headed to the jobsite at Sipoo early the next morning.
The expectation was that the site would be easy to spot with large plant vehicles, diggers, jet vacs and the usual worksite equipment lying around, but instead they found only one full transit van on this quiet residential street. The team were more than a little surprised when expert Sami told them that this was all the equipment that was needed to renovate the whole sewer line from manhole to manhole!
The Speedboat
The work to be undertaken was the replacement of two sections of sewer pipeline with inspection chambers at each end of the sections. The sections were from DN250 to DN300, 30 metres and 54 m long, . The local water authority were trialling the system in the area to achieve minimum disruption for local residents: the road was not closed or restricted. Once the team moved the speedboat (yes, really) off the 800mm manhole, the work could begin.
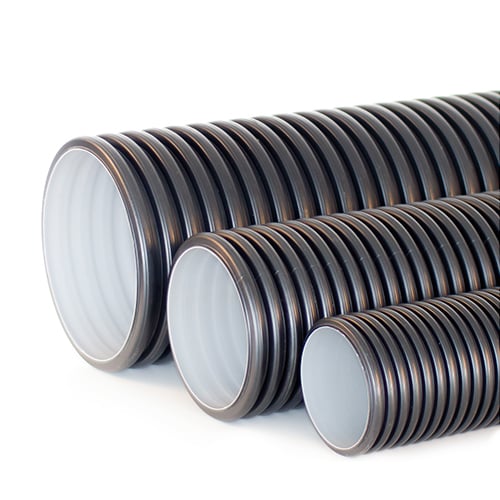
The Material
On closer inspection it became clear to the UK team that this was no ordinary pipe. It looks like a ribbed flexible perforated land drainage pipe, and a bit like cable ducting, but neither of those are suitable for sewer pipes. It also has a twin wall, but it's flexible. It joins together like a slip-lining or pipe-bursting product, but doesn't need to have the internal weld removed after welding. It's like traditional slip-lining pipe, but doesn't need a slip trench at the entry point. The team decide that this stuff brings all of the best qualities together: A manufactured pipe, welded together on site with no internal bead. It's strong, has great flow characteristics but also has the ability to flex and bend. No stick or twin wall product would ever bend like this. 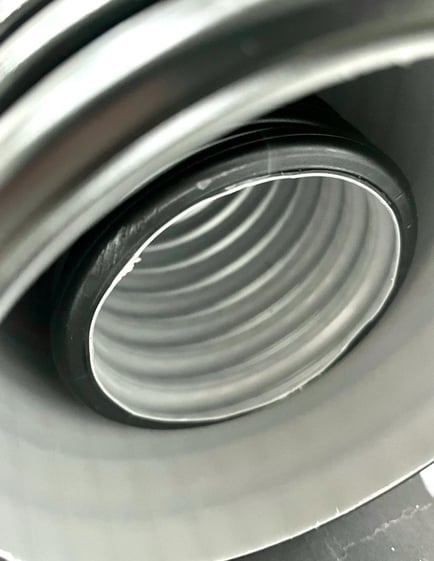
The Preparation
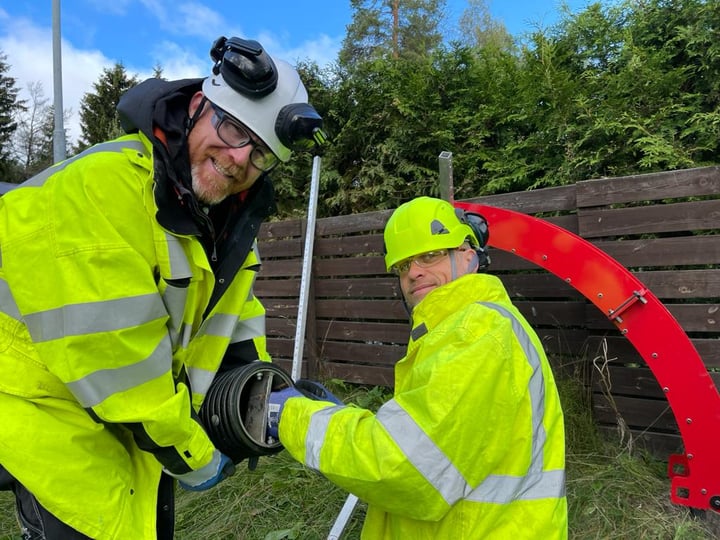
The day before, installation expert Juha was onsite to prepare the chambers for the installation heads to fit, but the UK team also got to do some of this prep work. All of the works were about two metres deep. Lateral connections protruding into the main were trimmed back and headings were taken out to allow the installation tool to fit close to the main line.
“The process was simple, easy to learn, fast to install.”
Dan Holmes, Technical Trainer
The pipe is assembled on site to the required length. This means less waste, less space required for storage, and lower transport costs.
A clever rig design is used to clamp the pipes together for fusion welding, A specially (Picote) designed tool cuts a clean, square face on both pipes. Dan and Andy kept finding themselves saying out loud: “that’s clever!" Another example was when they saw the ratchet spanner and socket used to do up the clamps on the rig; it was the same size as the one needed to drive the pipe cutter. No longer will ten different tools be needed to do the whole job. How refreshing!
Cleaning up the pipe with the fusion weld pipe, dropping the weld ring in place and clamping the pipes together was quick and simple. There is a simple recipe. Yet another clever idea is the Welding Ball. Pushed up inside the pipe and inflated at the point of the joint it stops the weld migrating into the inside of the pipe, keeping the joint smooth and clean so flow is kept at its maximum. The electrical welder is fool proof; a simple bar code read by a scanner tells the machine what to do and the box does the rest for you. Of course, there is a little more to it, tricks and tips that will be included in training sessions. No resins, no glues, no mess. Just a few off-cuts of pipe trimmings keep this process environmentally friendly.
The weld ring goes in between the two pipe ends and an electrical current is applied from the welder box, heating and forming the connection. The welder also records weld data for quality control. Another simple but clever part of the pipe welding rig was a simple lever lifting the ribbed pipe out of the clamps allowing it to be moved horizontally over the rollers with out rubbing on the ribs. Again, a simple but impressive design feature.
The pipe grew rapidly in length and ran all the way down a section of grassy verge easily moved along on a set of rollers. Once the first section reached its required length the second length was started. Two long black snakes were left in the grass for the night in readiness for the next day's install.
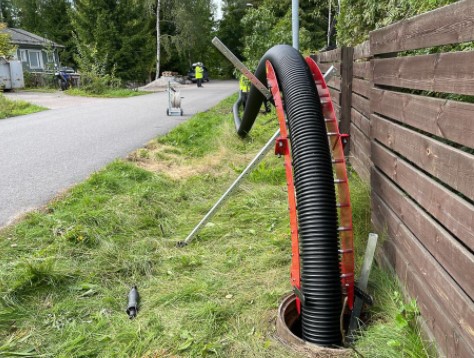
Installation Day
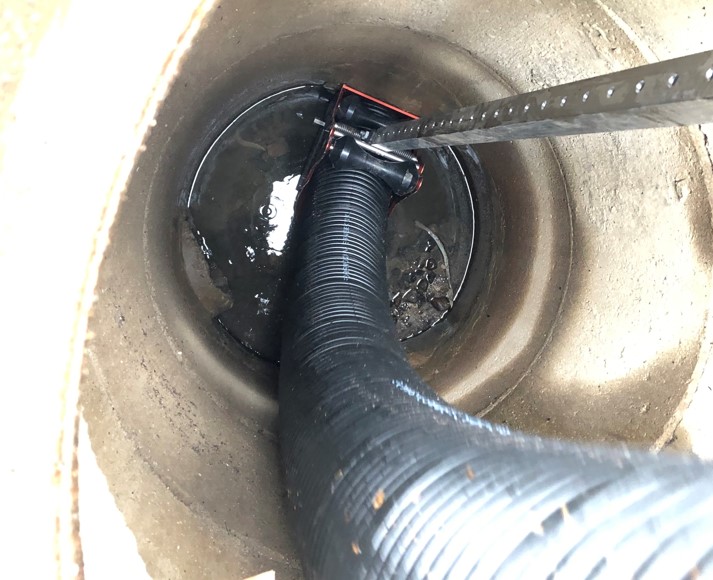
This flexibility allowed us to install the pipe like no other system. From a manhole chamber (a small excavation would also work), the pipe traversed from the horizontal ground to the vertical of the chamber shaft and then back again to near horizontal into the sewer. That’s two almost 90° degree bends to get into the pipe with a depth of only 2-2.5 metres! It was amazing to see.
To guide the pipe around these direction changes Picote created a frame with guides and rollers to stop it rubbing on the edges of the chamber. It’s a simple frame system that drops into the chamber with a few outriggers to hold it in place through the pulling and installation process.
"Training for the first time went very smoothly. A crew of two with a van could easily install this in a day or two with little inconvenience for the public."
-Andy Kibblewhite, Senior Technical Trainer
Getting the pipe from the grassy area was simple- the four guys lifted it onto their shoulders and carried it the 100metres around the corner to the installation point. It was so light! Then it was attached to a towing head and the cable from the winch then fed through the installation frame and then to the winch end.
The whole winching process took under 10 minutes. Simple and effortless!
They detached the towing head, removed the frames from the two chambers, trimmed up the pipe to length and then added a small bit of concrete work in the chambers remaking some benching with some rapid cement. Job done!